This feature allows a user to send emails on behalf of other user from his own account.
To access the module, go to the main menu on the left and click on Users, then select the domain of the account you want to send emails on behalf of another user.

Select the desired account from the list, or use the search bar to filter an account. Then click on the edit icon on the right.

Then select the SendAs tab from the top menu. Next, you can choose from the drop-down menu who to share the account with.

You also have the option to copy messages sent to the main user’s Sent folder. Don’t forget to check the box. Click Save to save your changes.
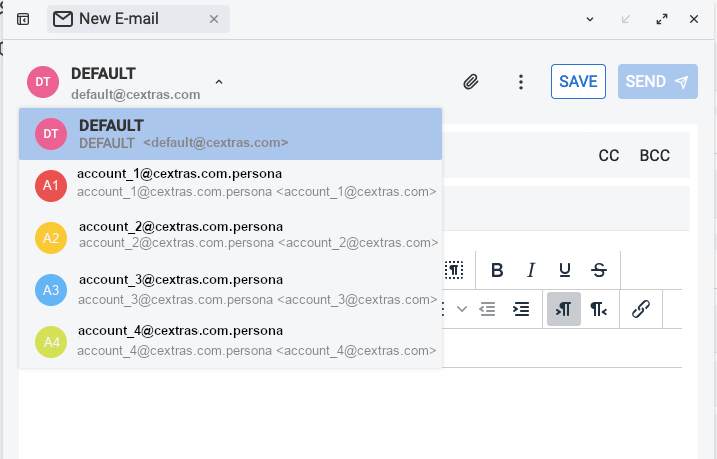
Once the Sending As is set, the user will have to possibility to choose from which address to send an email when composing it from the webmail:
To cancel sending through another account, you can click on the corresponding red button in the list below.
